This tutorial will show you how to encrypt an Excel file so that a password is required to be able to open it.
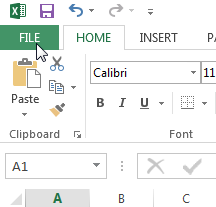
1. Open a new or existing Excel workbook.
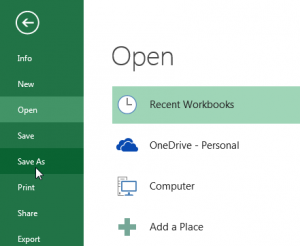
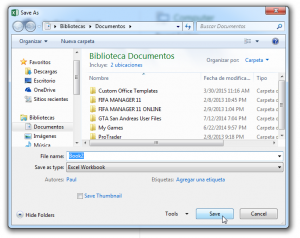
2. Select the File tab on the top left-hand corner, and click Save As.
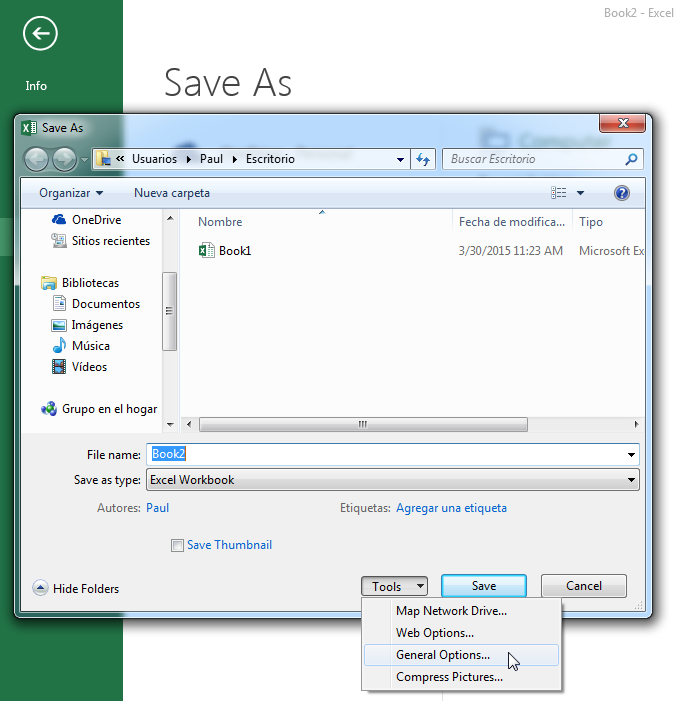
3. After selecting Save As click on Tools, and select General Options from the Tools drop-down.
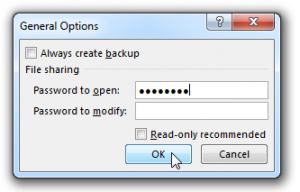
4. In the General Options pane that will appear on the screen you can enter a password and click OK.
You can enter two different password for different types of permissions.
Password to Openrefers to the password that can be used to access the document but in read-only mode.Password to Modifyrefers to the password that can be used to access the document and make changes to it.
It is up to you to decide whether or not to have two different access levels for the Excel file. Note that the passwords can be the same.
Selecting the Always Create Backup button will have Excel duplicate the file and sync it with the original file.
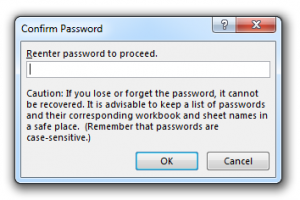
5. A similar window will open up asking you to confirm your password. Reenter the password and click OK.
6. After choosing a file name, select Save.
It is important to note that your Excel file is now encrypted and can only be accessed with a password. If you therefore lose or forget the password the file cannot be accessed.
For any questions or doubts feel free to contact us by commenting below.

Speak Your Mind